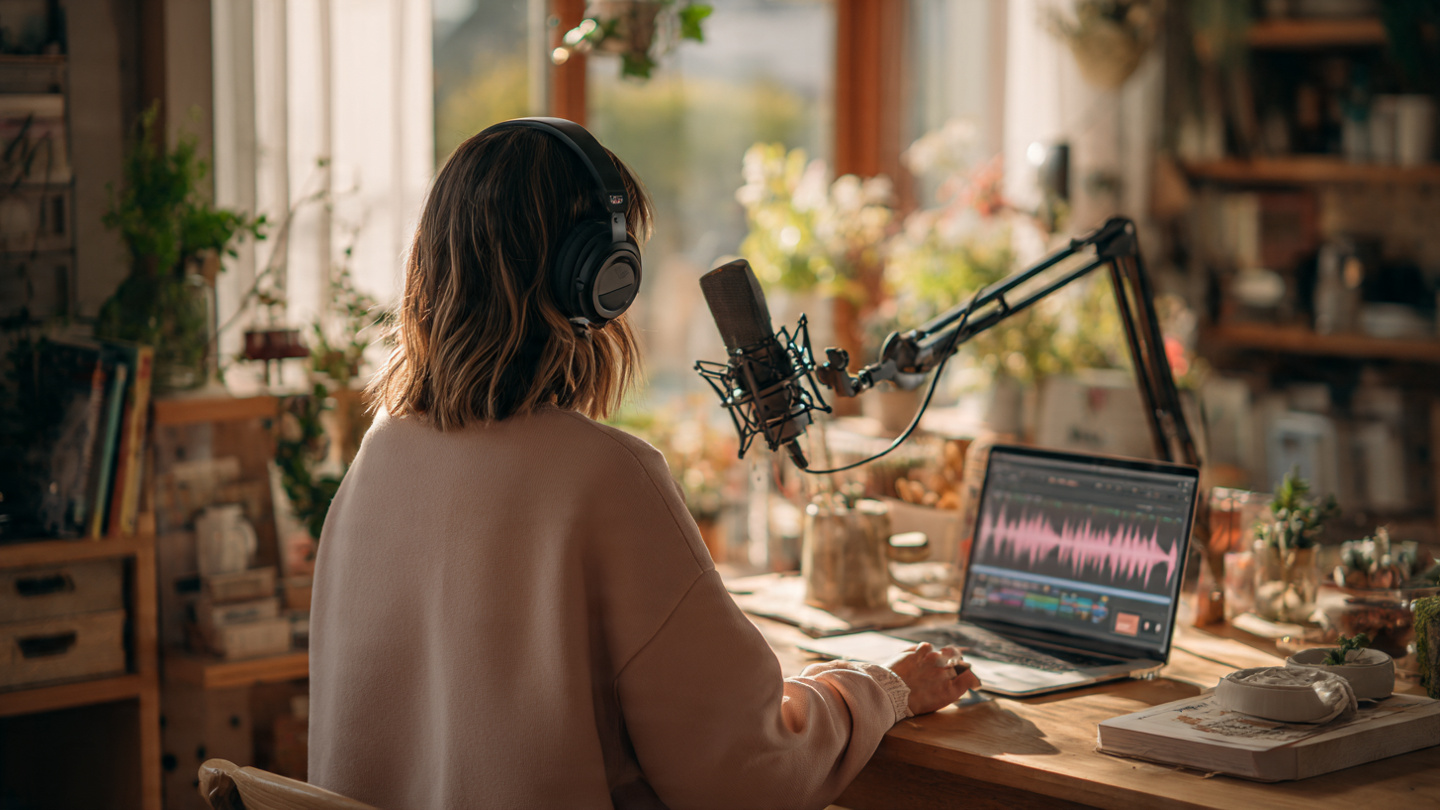
You do not need a fancy studio, a celebrity guest list, or a broadcast journalism degree to start a podcast. You need a point of view, a little consistency, and a setup that makes you sound clear enough for people to keep listening. That is why shopping the Amazon Big Spring Sale can be a surprisingly practical move. If you have been putting off your podcast because the gear felt confusing or too expensive, sale season is often the moment when the math finally works in your favor.
I have always thought the biggest mistake new creators make is assuming they need a perfect setup on day one. Most successful podcasts do not begin in acoustically treated studios with premium XLR chains and a full production team. They begin with one good microphone, a reliable pair of headphones, simple recording software, and a host who has something to say. The trick is buying the right foundational tools, not the most expensive ones.
If you have always wanted to start podcasting, this guide walks through what to buy during the Amazon Big Spring Sale, why each item matters, and where to spend versus where to save. The goal is not to build a gear wishlist for fantasy shopping. The goal is to help you create a setup you will actually use.
Why the Amazon Big Spring Sale Is a Good Time to Start Podcasting
The best time to launch a podcast is usually the moment you stop overthinking it. The second-best time is when entry costs drop. Seasonal sales make podcasting gear more accessible, especially for beginners who want solid performance without overspending on pro-level equipment they may not fully need yet.
Podcasting is one of the rare creative hobbies that can grow into a side hustle, a personal brand engine, or even a business asset. A podcast can support a newsletter, strengthen a consulting practice, deepen audience trust, or simply give you a place to explore ideas in public. Because of that, even a modest investment in the right tools can pay off in more ways than one.
- Lower startup cost: Sales often reduce the price of quality USB microphones, headphones, boom arms, and audio interfaces.
- Better beginner bundles: You can often find microphone kits that include pop filters, cables, and shock mounts.
- Room to experiment: Spending less upfront makes it easier to test podcasting without feeling financially locked in.
- Smarter upgrades: If you already have basic gear, sales are a good time to improve weak points in your setup.
If you have been waiting for a sign, this is it: buy the essentials, skip the vanity gear, and get your first episode recorded.
The Core Podcasting Gear Worth Buying First
When people search for the best podcasting gear, they often end up drowning in enthusiast advice. Here is the simpler, more useful version: focus on the few pieces of gear that noticeably improve audio quality and recording comfort.
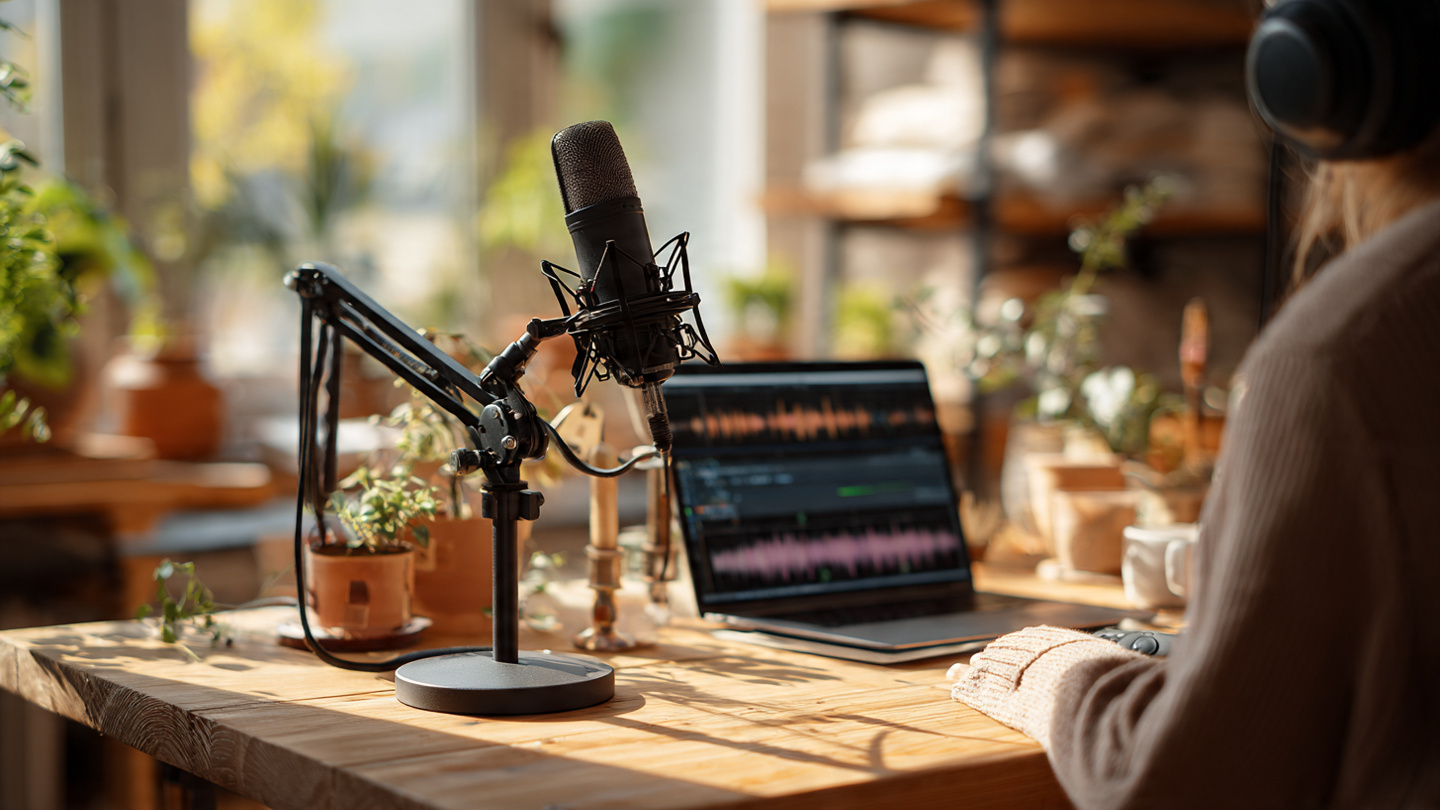
1. A USB Microphone for Easy, High-Quality Recording
If you are starting from zero, a USB microphone for podcasting is the smartest purchase. It is the fastest route from idea to published episode because it plugs directly into your computer and usually requires minimal setup. Good USB microphones today are far better than entry-level options from a few years ago, and for most beginners, they are more than enough.
Look for a microphone with strong vocal clarity, simple gain controls, and a pickup pattern designed for solo recording. Cardioid microphones are ideal for most podcasters because they focus on your voice and reduce some room noise from the sides and back.
A beginner-friendly USB microphone is perfect if you plan to record:
- Solo commentary episodes
- Interview-style podcasts over Zoom or Riverside
- Movie, TV, sports, or culture discussions
- Personal storytelling or educational content
If your recording room is untreated, prioritize a dynamic USB microphone over a highly sensitive condenser model. Dynamic mics tend to be more forgiving in echo-prone bedrooms and home offices. That single choice can make your podcast sound more polished before you edit a single thing.
2. Closed-Back Headphones for Monitoring
Good headphones are not optional. They help you monitor your voice, catch background hum, and edit more accurately. For podcasting, closed-back headphones are usually the better choice because they minimize sound leakage and let you focus on what is actually happening in the recording.
You do not need luxury audiophile headphones. You need comfort, consistency, and clear playback. If you are recording longer sessions or interviews, comfort matters almost as much as sound quality. A pair of headphones that feels fine for 20 minutes can become unbearable at the one-hour mark.
When shopping, prioritize:
- Padded ear cups for longer sessions
- Balanced sound rather than exaggerated bass
- A wired connection for reliability
- Durable construction if you plan to record regularly
One practical note from experience: once you start editing your own show, headphones become even more important than you expected. They reveal mouth noise, plosives, room echo, and awkward cuts that laptop speakers often hide.
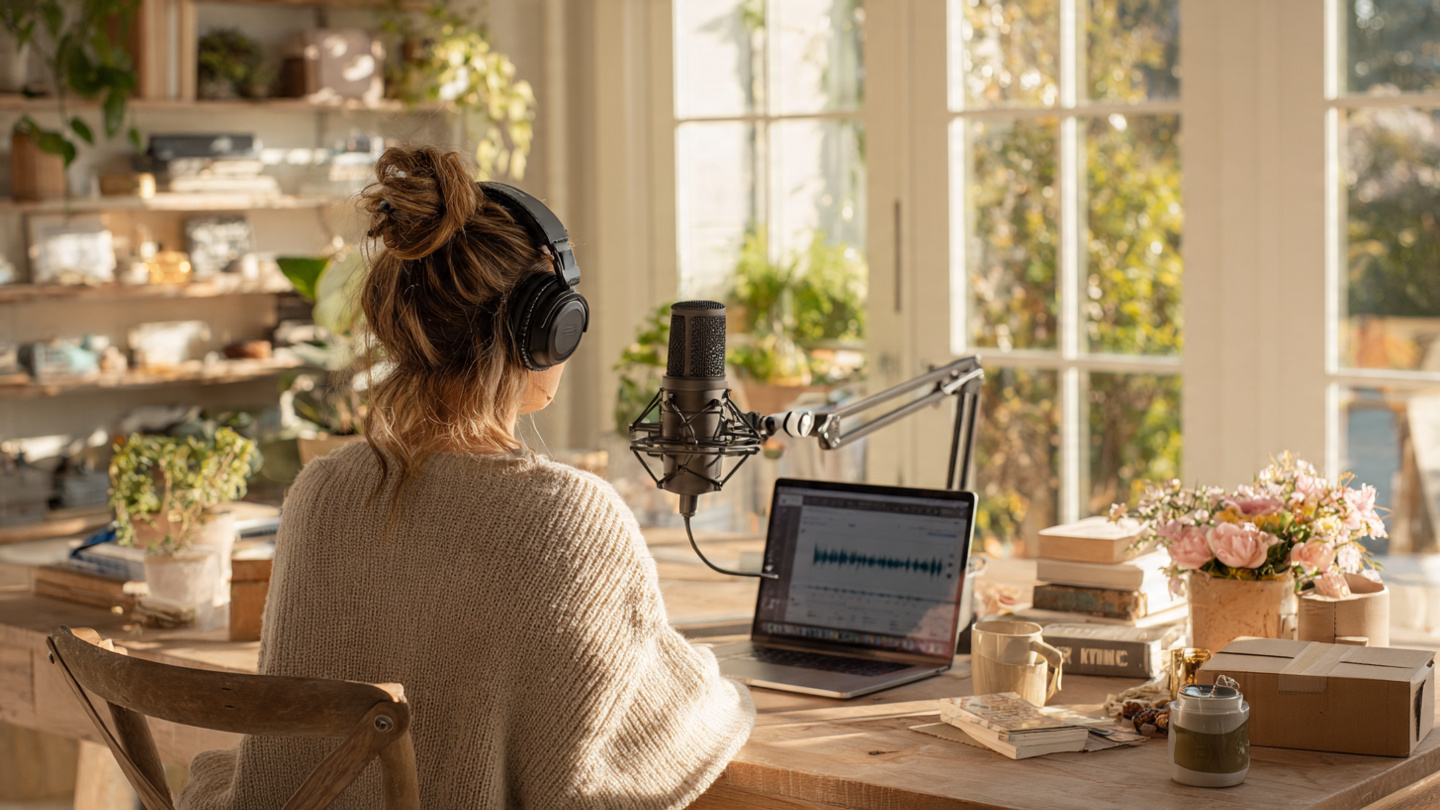
3. A Boom Arm or Desk Stand That Keeps the Mic in Place
One of the least glamorous podcast accessories can make one of the biggest differences. A microphone boom arm or stable desk stand improves your recording posture, keeps the mic at the right distance, and reduces handling noise. If your microphone is sitting too low on a desk, you will naturally lean forward, drift off-axis, and sound less consistent.
A boom arm is especially useful if you are recording in a tight space or sharing a desk with a laptop, monitor, and notes. It helps create a setup that feels intentional rather than improvised, and that can make recording feel easier to repeat every week.
Look for a mount that supports your microphone’s weight securely. Cheap arms sometimes sag, creak, or transfer desk vibrations, so this is one area where spending a little more is often worth it.
4. A Pop Filter or Windscreen for Cleaner Vocal Audio
Plosive sounds, like the hard bursts in words starting with P and B, can ruin an otherwise excellent take. A pop filter or foam windscreen helps smooth those bursts before they hit the microphone capsule. It is a low-cost purchase, but it can immediately make your speech sound cleaner and more controlled.
This is one of those accessories beginners often skip because it seems minor. Then they record a full episode, hear the pops in playback, and realize the tiny accessory would have saved time in editing. If you are buying a microphone during the Amazon Big Spring Sale, adding a pop filter is usually an easy win.
5. An Audio Interface, but Only If You Need One
If you are buying an XLR microphone, you will need an audio interface. If you are buying a USB microphone, you usually will not. This distinction matters because beginners are often pushed toward more complex setups than necessary.
An audio interface for podcasting gives you more flexibility, cleaner preamps, and room to upgrade over time. It makes sense if:
- You already know you want an XLR microphone
- You are recording two local hosts on separate microphones
- You want more control over gain and monitoring
- You plan to grow into a more advanced production setup
But if your goal is simply to launch your first show with as little friction as possible, a USB microphone is often the better choice. Starting simple is not a compromise. It is a strategy.
How to Build the Right Setup for Your Budget
The smartest podcasting setup depends on how serious you are today, not how serious you hope to be six months from now. Buy for your current reality, then upgrade when your workflow justifies it.
Budget Starter Setup
If you want the lowest barrier to entry, build around a quality USB microphone, wired closed-back headphones, and a pop filter. Add a boom arm if the sale pricing is good. This setup is ideal for solo shows and remote interviews.
This route works especially well for creators making:
- Commentary podcasts
- Niche hobby shows
- Career and business podcasts
- Entertainment reaction podcasts
For most people, this is the sweet spot between affordability and professional-enough audio.
Midrange Creator Setup
If you know you are committed, a midrange setup can improve sound consistency and recording comfort. This might include a better dynamic USB microphone, sturdier boom arm, monitoring headphones, acoustic treatment basics, and podcast editing software.
The key here is not just audio quality. It is reducing friction. The easier it is to sit down and record, the more likely your podcast will survive past episode three.
Growth-Oriented Setup
If you are building a podcast as part of a larger media brand or business strategy, moving into XLR gear and an audio interface can make sense. This setup is more expandable, especially if you plan to bring in a co-host, record in person, or add outboard processing later.
Still, even in this tier, do not confuse complexity with quality. Plenty of growing podcasts sound great because the host knows mic technique, room control, and editing basics, not because they own the most expensive equipment.
What You Can Skip at the Beginning
The internet loves telling beginners to buy everything at once. That is usually a waste of money. Some gear looks impressive in a setup photo but contributes very little to your actual results early on.
- Overbuilt mixers: Many beginners do not need one for a simple solo or remote-interview workflow.
- Premium studio monitors: Headphones are usually more practical for first-time podcasters.
- Fancy acoustic panels everywhere: Start by recording in a soft room with rugs, curtains, and furniture.
- Expensive camera gear: If your focus is audio podcasting, do not let video accessories derail your budget.
- Too many accessories: Buy what solves a real problem, not what fills a cart.
In my experience, the most effective beginner upgrade is not a premium gadget. It is learning to place the microphone correctly, speak consistently, and record in the quietest room available.
Smart Shopping Tips During the Sale
Deals are only useful if they align with what you actually need. It is easy to get pulled into discount logic and buy gear that looks like a bargain but does not fit your workflow.
Compare the Total Setup Cost
A microphone that looks inexpensive may still require extra accessories. Before buying, check whether you also need a cable, stand adapter, pop filter, or interface. A slightly pricier bundle can sometimes be the better deal.
Read for Use Case, Not Hype
Customer reviews are most useful when the reviewer shares a similar goal. A streamer, singer, and podcaster may all judge the same microphone differently. Look for reviews from people recording spoken voice in ordinary rooms.
Watch the Return Window
Audio gear is personal. Your voice, your room, and your desk setup all affect results. A generous return policy can make it easier to test a microphone with confidence, especially if you are deciding between a dynamic and condenser model.
Do Not Ignore Comfort
Podcasting is a repetition game. Uncomfortable headphones, awkward stands, or fiddly controls can slowly reduce your motivation. Convenience is not a luxury in content creation. It is part of sustainability.
How to Make Your First Podcast Sound Better Immediately
Buying the right gear helps, but technique matters just as much. A modest setup used well will outperform an expensive setup used carelessly.
- Record close to the microphone: Usually a few inches away works best, depending on the mic.
- Stay on axis: Keep your mouth positioned consistently so your tone does not drift.
- Choose a soft room: Bedrooms, carpeted offices, and spaces with curtains tend to sound better.
- Turn off noise sources: Fans, air purifiers, and mechanical keyboards all show up in a recording.
- Do a test recording first: Thirty seconds of audio can save an hour of frustration.
This is also where confidence starts to build. The first time you hear your voice played back clearly, podcasting stops feeling like a vague ambition and starts feeling like a real project.
The Best Investment Is the One That Gets You Publishing
There is a romantic idea that creators need a major leap of commitment before they can begin. In reality, the better path is often small, smart momentum. Buy the microphone you can afford. Get the headphones you will actually wear. Set up the boom arm so recording feels easy. Then make the first episode.
If your podcast is about movies, culture, sports, business, parenting, or the very online chaos of modern life, there is probably room for your voice. Not because the internet needs more noise, but because audiences still respond to perspective, consistency, and clarity. Great podcasts are rarely built on gear alone. They are built on rhythm, taste, and the willingness to show up again next week.
The Amazon Big Spring Sale can help you buy that starting point at a better price, but the real opportunity is bigger than a discount. It is the chance to stop researching forever and begin creating.
Conclusion
If you have always wanted to start a podcast, the smartest approach is refreshingly simple: buy the essentials, ignore the prestige trap, and optimize for ease of use. A strong beginner setup usually includes a USB microphone, closed-back headphones, a boom arm or desk stand, and a pop filter. If your ambitions grow later, your setup can grow with you.
What matters most is not owning the most impressive gear. It is choosing tools that help you sound clear, stay comfortable, and publish consistently. That is how podcasts actually get made.
If you are browsing the Amazon Big Spring Sale, make your list with intention, grab the pieces that solve real problems, and record your first episode before the excitement wears off. Your future listeners do not need perfection. They need you to hit record.
Ready to start? Pick one microphone, one pair of headphones, and one date to publish your first episode. That combination will do more for your podcast than another month of indecision ever will.


